|
|
|
-
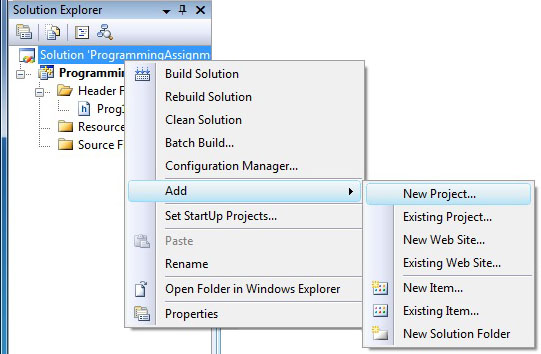
From the File menu select File->New->Project and the dialog
box shown below will appear.
-
In the dialog box that appears make sure that Visual C++ is
selected in the Project Types
hierarchy tree on the left. Note: your list of project types may be slightly
different if other languages have not been installed. Under
Visual C++ select Win32.
-
Select Win32 Console Application from the options under Templates
-
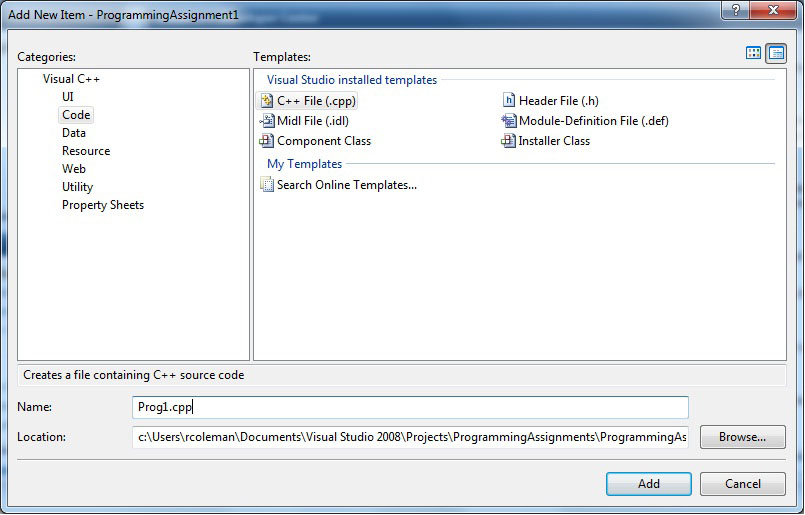
Enter a name for the project in the text box labeled "Name". In this
example the project will be named "ProgrammingAssignment1".
-
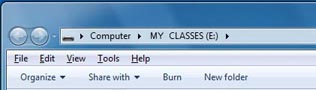
Click the browse button then locate the folder in which you want to create the new
project. It is recommended that you keep your projects on your own thumb drive.
Any project created on a computer in the labs will only be accessible from that
computer, and could be deleted without warning by the computer lab staff during
maintenance upgrades.
-
Enter a name for the solution in the text box labeled "Solution Name". In this
example the solution will be named "ProgrammingAssignments".
A "Solution" is Microsoft's term for your project workspace. After creating a
solution with your first project you can then add other projects to the solution.
Some programmers like to put only one project in a solution to keep everything
neat and separate. Others prefer to put all programming assignment projects for a
course in the same solution.
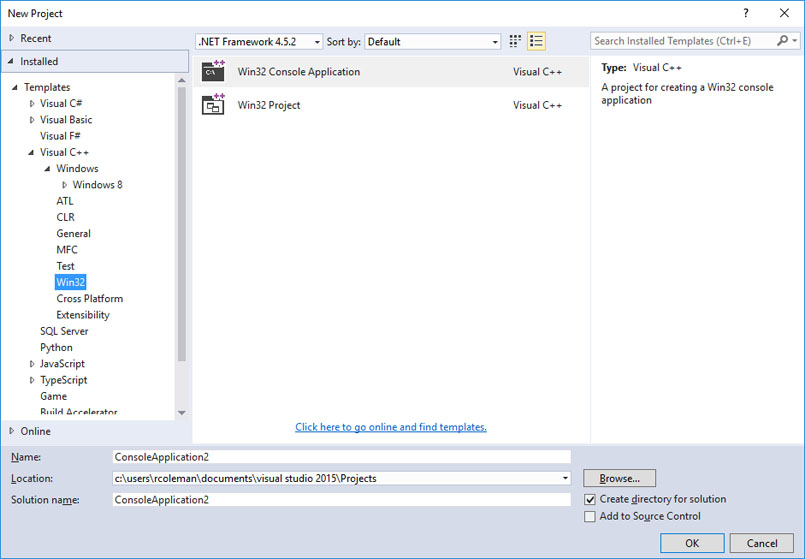
Visual Studio 2015 image.
-
Click the OK button and the Win32 Application Wizard window will appear.
Select "Application Settings" from the list on the left and the window
shown below appears. Make sure that the "Console Application" radio
button is selected. Uncheck the "Precompiled Header" and the "Security Development
Lifecycle" check boxes. Check the "Empty
Project" check box. This will ensure that you will
be building a pure ANSI Standard C++ application without any of the
extra baggage with which Microsoft likes to load you down.
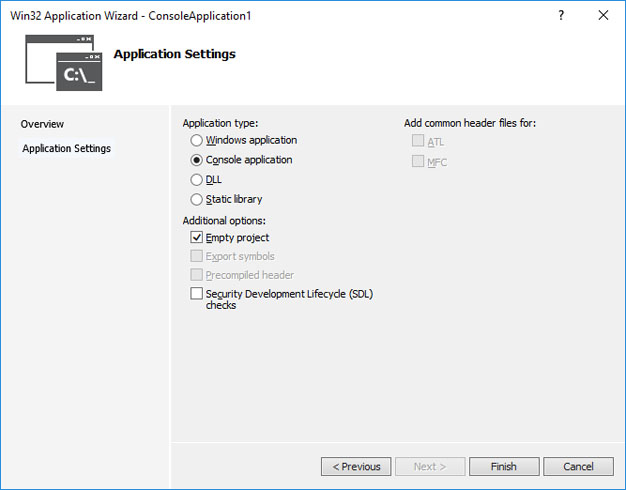
Visual Studio 2015 image.
-
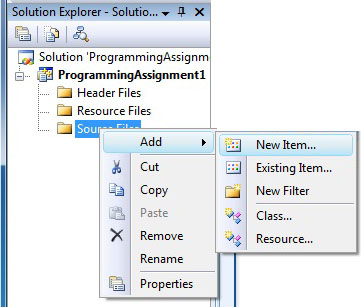
Finally click "Finish" and your project will be created.
|