This page was last updated June 7, 2008
Getting Started with Eclipse
If you have not installed Java and the Eclipse compiler then click the
back button on your browser.
Now, click option 1 "How to download and
install Java on your computer" and follow the directions to install
Java.
Next, click option 2, "How to download and
install the Eclipse compiler on your computer" and follow the directions
to install Eclipse.
After installing
Java and the Eclipse compiler return here to get started.
Step 1: Set up a workspace.
-
Eclipse creates all your projects, stores information about those projects, stores
your source code, and anything else related to a project in a special directory known
as the Workspace. Before you start up Eclipse for the first time you need to
decide where you will set up your workspace. It is suggested that you create a directory
in your home directory and name it something like "Workspace", or "Projects" or
even "CS 103 Workspace". You should do this now before continuing.
Step 2: Starting the Eclipse compiler.
-
Start up the Eclipse compiler. If you are working on a Windows or Linux platform
you may wish to create a shortcut and place it on the desktop to make it easier
to start up. If you are working on a Macintosh you may want to place a shortcut
in your dock for easy access. When you start Eclipse you will see the splash screen below
appear.
-
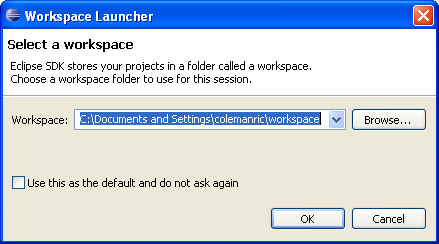
Almost almost immediately after the splash screen appears the dialog box shown
below will appear. If this is the first time you have started Eclipse you will
need to click the Browse button and locate the workspace directory you
created. If you click the check box Eclipse will always use this as the
workspace directory and not ask again. If you want to have more then one
workspace directory then leave it unchecked. After the first time you start
Eclipse it will default to the last workspace directory you selected. When the
correct workspace directory is shown then click the OK button.
-
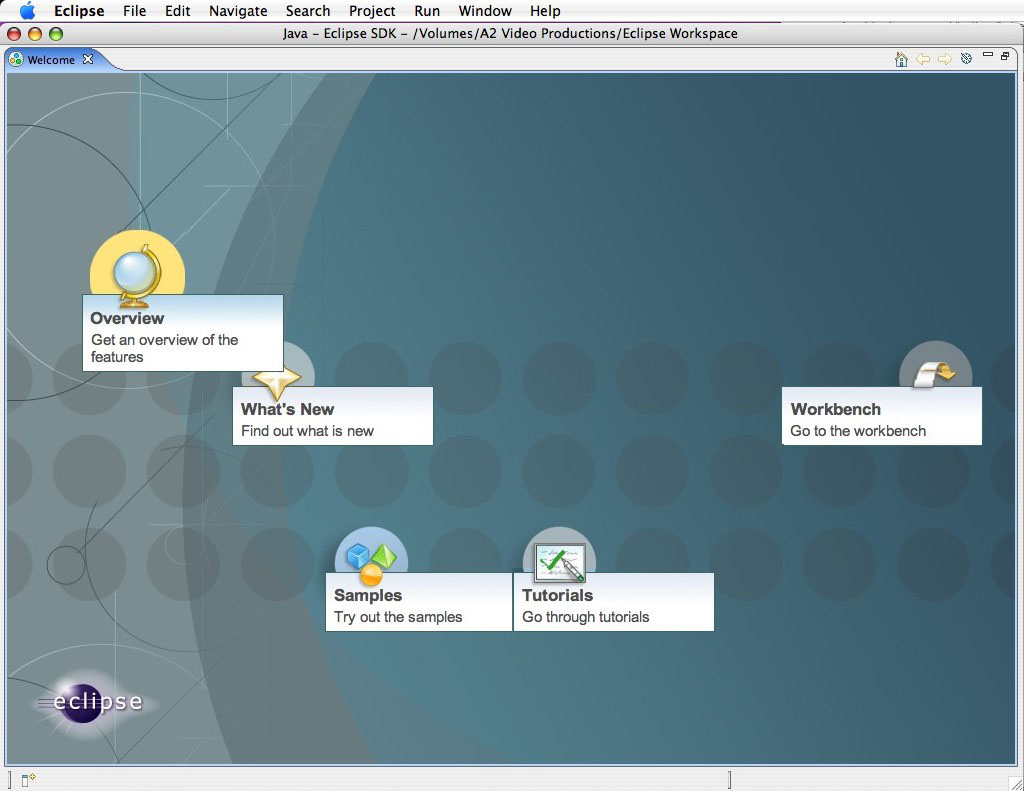
The Eclipse compiler main window will now appear. If this is the first time you
have run Eclipse you will probably see the window below. Move your cursor over
each of the icons shown in the Welcome tab to see what it links to. The image
below is a composite showing all of the "hint" popup boxes. You may want
to start with the Overview, then look at the Tutorials and Samples. To get
straight to work click the Workbench icon.
-
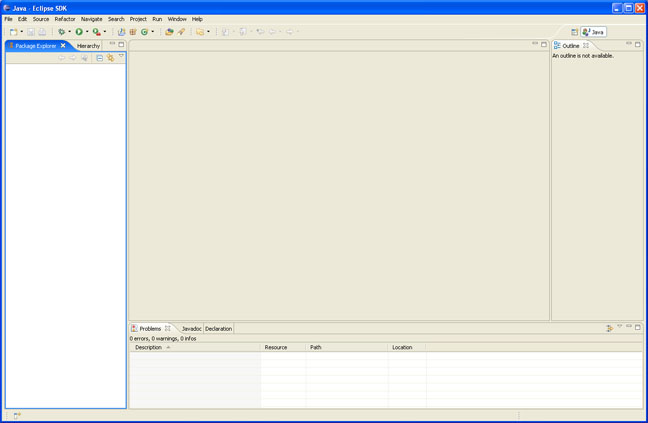
When you click the Workbench icon you will see the window below. Details on how
to create projects, add classes to the project, write the code, compile the
application or applet, and run it will be discussed in class.
Oh, so you got to this window and now want to go back to the welcome tab so
you can try the tutorials? Well just select Welcome from the Help menu.